If you have ever noticed that when you uninstall a program in
Windows there are usually little pieces left behind. These can sometimes be bothersome because you have thought that you already got rid of the program but it is still on your hard drive. There is a simple tool to help you through this process though and it is called
Revo Uninstaller. What this little program does differently than your normal uninstall is that it will search you hard drive for the little pieces that are left behind. You can get your free copy of
Revo Uninstaller here:
http://www.revouninstaller.com/. So now lets take a look at what it has to offer and go through a uninstall.
After you have installed
Revo Uninstaller you will want to start it up. You should then see a list of all the programs that you have installed on your hard drive it will look kind of similar to Add and Remove Programs in the Control Panel.
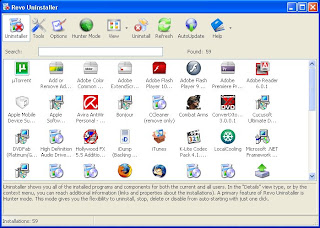
The main Revo Uninstaller windowNow to uninstall a program all you need to do is click on the program that you will want to uninstall and then toward the top of the window click on the button that says
Uninstall. There will then be a little dialog box that pops up asking if you are sure that you want to uninstall the program and if it is the right program then just click
Yes.
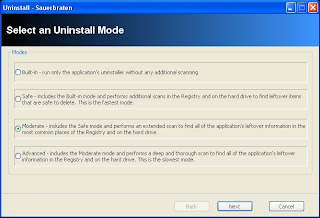
The uninstall modes window
Now you should see a window that has four different uninstall modes to choose from:
Built-in, Safe, Moderate, and Advanced. All of them have a little description underneath of them to explain what they do. From here you just need to choose the option that best suits your needs. I am going to select Advanced because I want to make sure that there are no remains left on my hard drive after the uninstall. After you select the option you want to use just click
Next. From here it is going to create a restore point, analyze the programs data, and it will also start-up the applications built-in uninstaller (if it has one).
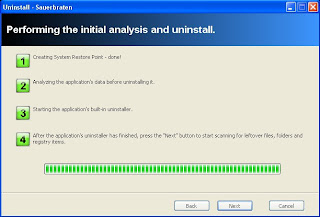
The start of the uninstall process
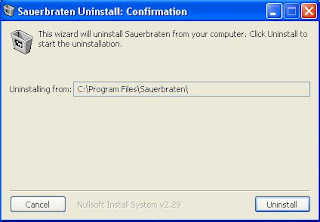 The applications uninstaller
Now you will just follow the on screen directions of the applications uninstaller. When you are done running the uninstaller you will then need to click
Next. This will then go to a window that starts to scan your hard drive for any left over remains from the applications uninstaller.
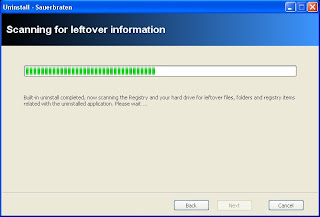
Scanning in progress
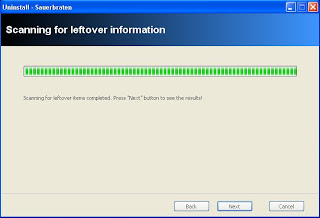 Scanning Finished
Once the scanning process is complete you will then need to click
Next to continue on to the next screen.
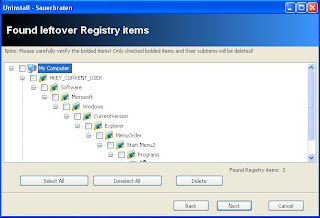
List of all the registry files left over from the uninstall
From here you will need to select the registry files that you want to delete by putting a tick in the little boxes or you can just hit
Select All then hit
Delete. When they are all deleted you can click on
Next. Now it will either proceed to a window to show the left over files if there are any or it will go a screen that says that you are now done.
Finished
Now you are done with your uninstall and there should not be any remains of the program you uninstalled left on your hard drive. You will want to be careful with this program though because if you don't look through all of the files that you are deleting you may be deleting something that is important or a system file. So use with caution if you are using the Advanced or Moderate modes. This is a very helpful tool to use and can help to keep your things more organized and also keep you hard drive clean from all of the left overs that are left on your hard drive even after you have already uninstalled the program.


